Watch on YouTube here: Arlington Mobile Steam Car Detailing ‑ We Will Make Your Automobile Impeccably Clean!
Via Arlington Mobile Steam Car Detailing
How to Wash Your Car The Right Way
Contrary to belief, you don’t necessarily need to be washing your car every weekend. You can actually do more harm than good cleaning too frequently with poor technique or with the wrong stuff.
This is especially true during winter when the roads are treated with various products to ensure a safe driving experience for the population.
To combat this, a lot of car owners think they need to wash their car more frequently in these conditions, but the reality is when there’s winter road grime involved you’re much more likely to damage your car when cleaning.
We’ll get to this later on in the guide, but as part of the detailing process, you want to protect your car’s paint by using a suitable wax, sealant, or ceramic coating.
Step 1: Set upSet everything you will need near the car. Make sure you have your 2 buckets ready (one for washing, one for rinsing), plenty of microfiber towels, two or three wash mitts on hand, and a scrubbing brush if you plan on doing your tires.
As noted in the golden rules, make sure you’re parked out of direct sunlight, and make sure to remove belts, jewelry, watches or rings. You’ll want to wash your entire car in one session, which should take an hour or so depending on the size of your vehicle and how dirty it is.
Step 1: Prewash your car
This is simple; just hose or lightly pressure wash your car down.
This is essentially giving your car a wash before you actually wash your
car!
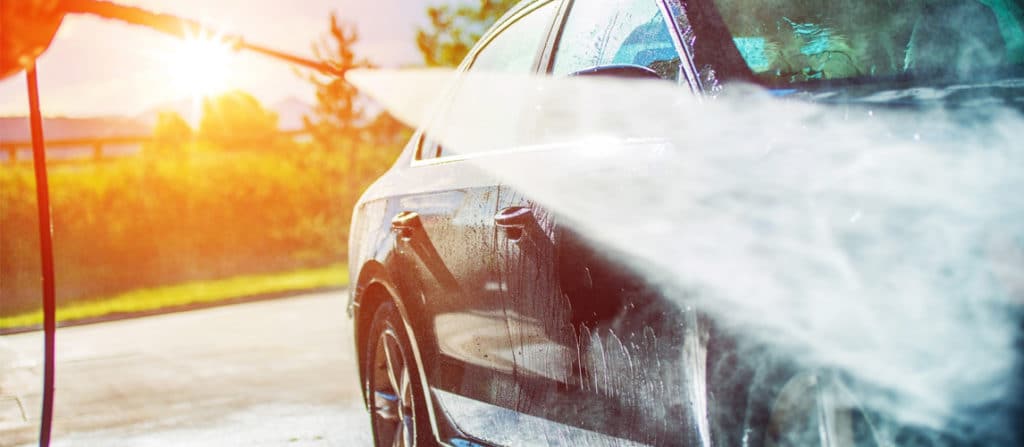
This is often neglected as everyone rushes straight to scrubbing their car (usually with one of those yellow sponges) which often results in more surface damage, simply by pushing all the dirt & grime all over the surface.
Prewashing is absolutely crucial as it helps minimize the swirl marks and scratches that can be caused by a sponge or mitt during the next washing stage. You can also use a foam gun at this point which besides extremely practical are actually great fun to use.
What you’re trying to do here is simply remove the worst of the heavy gunk before you touch the paintwork. Don’t use a strong jet of water from the hose, as this can rub the dirt over the paint and scratch it. Obviously, the procedure varies depending on the level of contamination, but mostly it’s as easy as using a pressure washer to physically remove heavy grime.
Step 2: Clean the wheels & tires first
Your wheels are undoubtedly going to be the dirtiest part of the car, having been constantly collecting road grime and brake dust. In winter time, you have the added bonus of road salt which can cause corrosion.
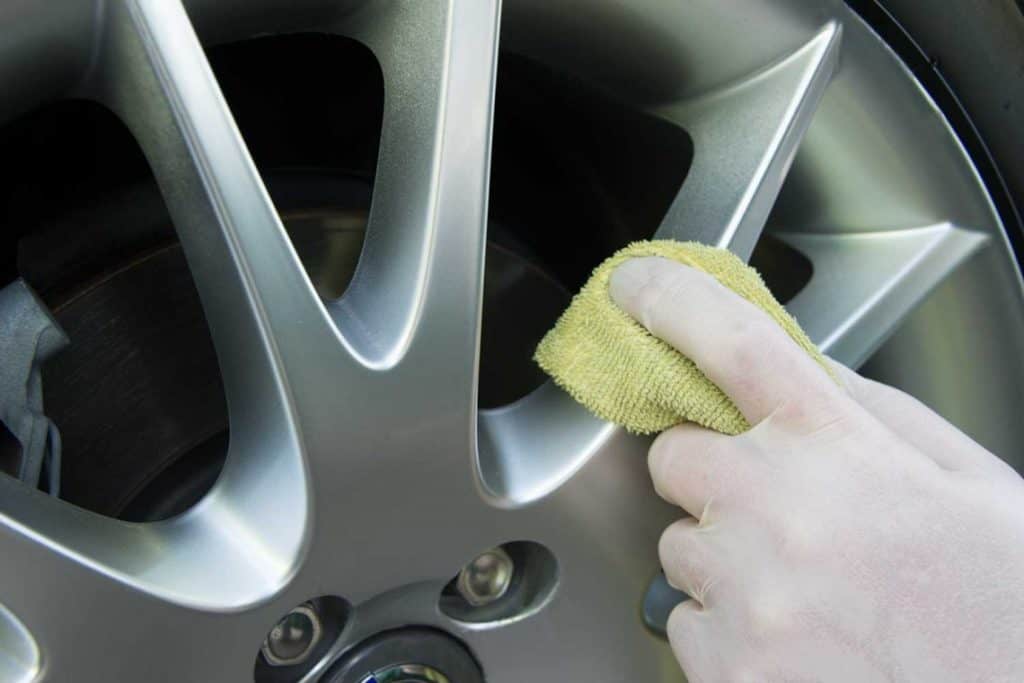
So clean these first – you don’t want to have to rewash your car later after the thousand tiny little razors of brake dust fly onto your paint whilst scrubbing your rims.
- Use a Spray-on, wipe-off cleaner, and let it sit for a bit, then hose off.
- Scrub your tires in a circular motion to remove the rest of the dirt and grime.
- Use a sudsy wheel sponge & clean the tighter areas
- If necessary use a smaller scrub brush to clean inside the wheels
IMPORTANT: Always rinse out your wheel wash bucket thoroughly before using it for the regular wash.
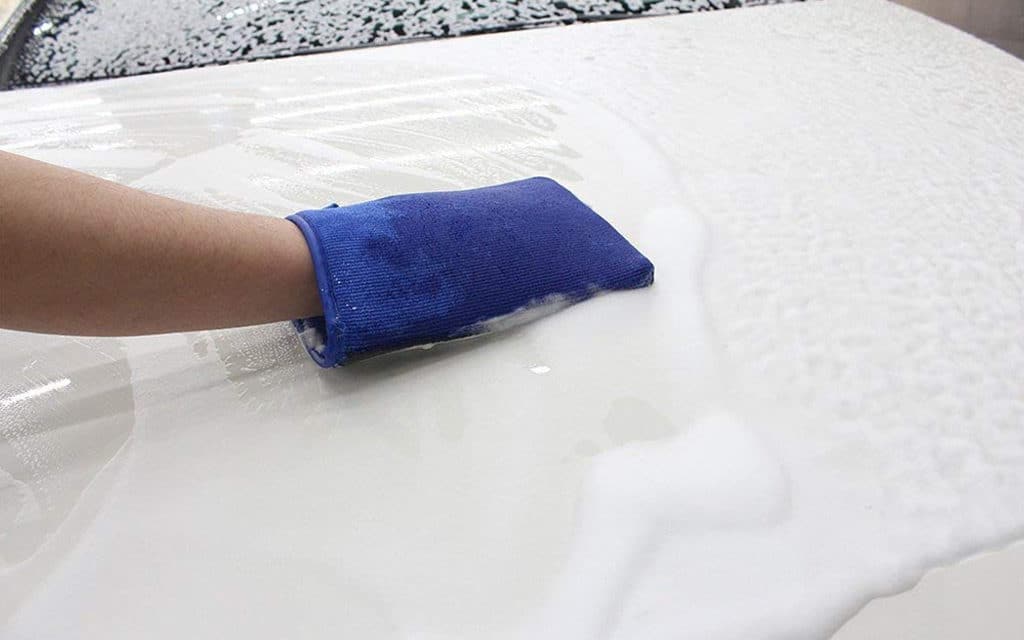
Step 3: Wash using the 2-bucket system

First; get a proper car shampoo
and whatever you do, don’t use washing up liquid. Dish detergents and
household cleaners are extremely harsh on your car’s finish.
Make sure to use the two bucket method, it makes more of a difference than you might think. This is simply one bucket filled with shampoo and one with clean water for rinsing out your mitt. Steer clear of those cheap yellow sponges as they are prone to scratch.
The process is very easy.
- Fill a bucket 2/3 full with cool water. Add the recommended amount of shampoo to the water. Using a strong jet of water, fill the bucket to fully activate suds. Fill the second bucket with clean, water for rinsing your wash mitt.
- Soak a large wash mitt in the soapy water and wring it out over the wash surface. This acts like a pre-soak, adding further lubrication and helps loosen gunk on the surface.
- Begin washing the car. Working in sections, start at the top of the car and work your way down, regularly cleaning your mitt in the rinse bucket.
- Wash in straight, overlapping lines as opposed to circles and remember to be gentle with the wash mitt on the first pass. This first pass will pick up the majority of the dirt and loosens the remaining dirt for pick up on the second pass.
- If the water in the bucket begins to get cloudy or gritty, throw it out and refill with clean water.
By leaving the dirtiest areas at the bottom until last, this will help avoid bringing dirt and grime up to the top.
After one section is washed, rinse it with the hose before moving on. You don’t want the soap to dry on the paint and stain it. When rinsing sections, use the same top to bottom process. As you progress from one section to the next, it’s important that you use the hose to keep the entire car wet. This will prevent water droplets from drying on the paint and leaving water spots. You want to be able to dry the car with towels before it air dries.*For stubborn spots, like bugs, bird dropping, or tar, use a specific “bug and tar remover” to gently remove sticky contaminants without scratching.
Step 4: Drying
Yes, this has it’s very own step. Don’t air dry or be tempted to cruise 100mph down the highway in an attempt to dry the car.
Once you have rinsed your motor, it’s equally important to properly dry it. You’re looking to avoid watermarks created by leaving the car to air dry and to make blemishes easier to spot before claying or polishing. You may need to use several microfiber towels while drying your vehicle.
Wipe
down all surfaces that you’ve washed, in order to prevent rust from
building up. Make sure not to leave any water standing on your vehicle
once it’s dried.

For drying, use a clean microfibre cloth or drying towel, as these are less likely to scratch your paint than a chamois.
Step 5: Use a detailing mitt or claybar (really only necessary once a year)
If you haven’t used a clay bar or detailing mitt before you’re in for a treat as the clarity and luster they add to the surface are unparalleled. They both serve the same purpose which is to smooth out the surface of your car.
It’s best done infrequently (yearly or bi-yearly) or just prior to a good car polish or ceramic coating.
We personally prefer a detailing mitt as they can be used multiple times and are easily cleaned after or during use. (Clay, on the other hand, is 1-time use and must be discarded if dropped on the ground). Additionally, a clay mitt fits over your hand, similarly to a wash mitt making it easier to use than a clay bar which you have to hold as you rub over the vehicle. They’re also typically much larger since they have to fit over your hand, so can cover more surface area.
For the purposes of this guide, we’ll follow the detailing mitt process as we find them much more practical & quicker for the average user. They are initially more expensive, but trust us when we say they are incredibly simple to use.
Both must utilize a lubricant to help them glide across the painted surface.
- Working small areas at a time – saturate the painted surface with your detail spray/lubricant. We suggest spraying the clay mitt as well to ensure proper lubrication. I
- Lightly glide the clay mitt along the surface in a cross-hatch pattern. You’ll notice that there is some resistance/drag at first, but as you continue to glide the mitt and remove contaminants it will become smoother and smoother.
- Once you no longer feel any resistance/drag in that area, take a clean microfiber towel and wipe the paint clean. Feel the surface with your finger tips and compare to an area you haven’t clayed yet, you should notice a distinct difference in how slick the surface is.
- Repeat on all panels of the car until you have finished.
Step 6: Polishing
The processes of polishing and waxing your car’s paintwork can make a huge difference to its overall appearance. You should only polish as and when required, usually during a full detail once or twice a year. We advise using a buffer for quality results, as this distributes pressure more evenly than a manual pad. A buffer also achieves optimal polishing results as you can change the speed depending on the different areas of the car you are working on.

